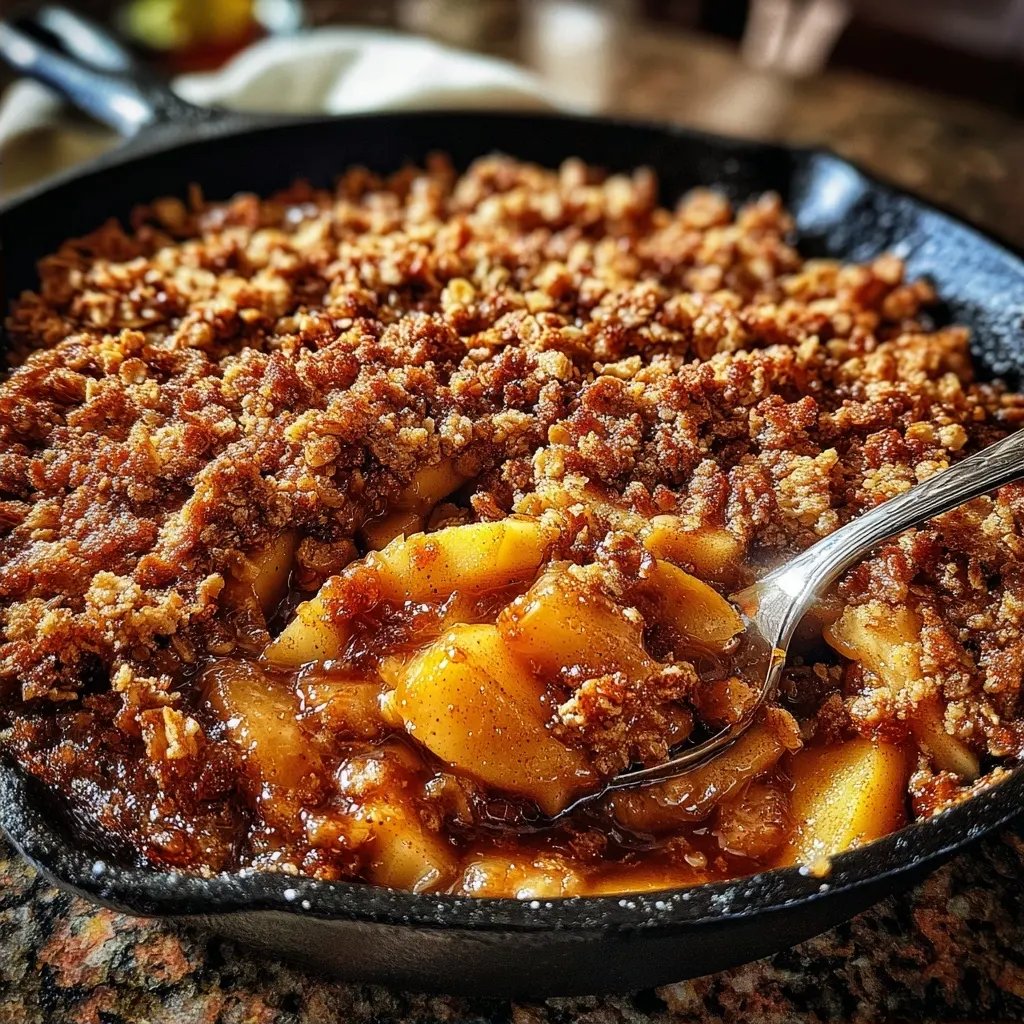
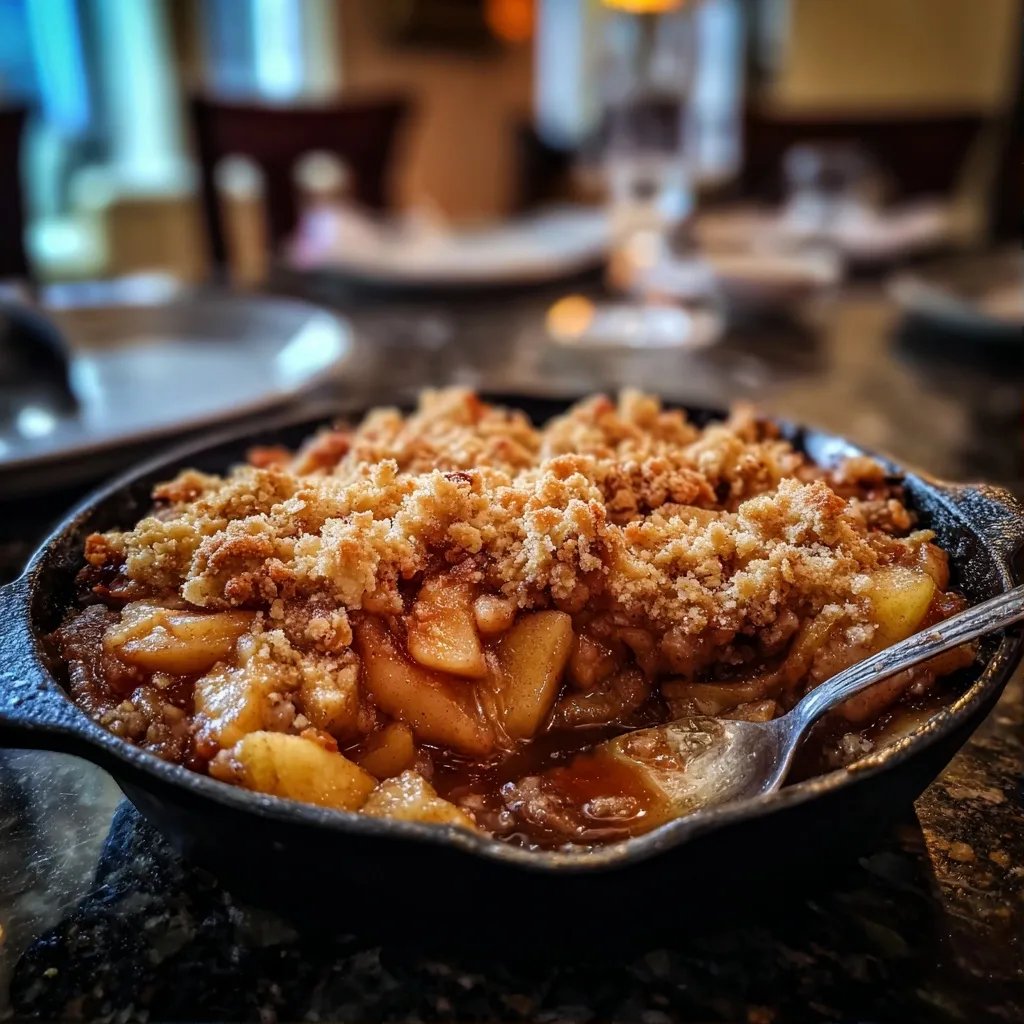
Apple Crisp Skillet
Highlighted under: Gourmet Baking Bliss
I remember making this apple crisp in the cozy corner of my kitchen while listening to my favorite playlist. The warm scent of cinnamon filling the air always takes me back to family gatherings where everyone would dig in right away. This is a simple yet satisfying dish that’s made for those moments when you just want something warm and sweet. Honestly, it’s the kind of dessert that makes the kitchen feel like home, even on busy weeks.
Making this apple crisp always brings back memories of autumn days when the leaves start to change and the weather turns a bit chilly. I remember my grandma used to make a big batch of her famous apple crisp for every holiday gathering. It was the one dessert everyone would fight over, and I always appreciated how simple yet loved it was.
As I’ve tried different recipes over the years, I’ve opted for a skillet version for my own twist. It’s so easy to throw everything together in one pan and bake it right in the oven, which keeps the clean-up minimal. Next time, I might add a sprinkle of nutmeg for an extra kick—but it’s pretty darn good as is!
Why This Works So Well
- You can use any apples you have on hand
- The oats in the topping get a nice toasty flavor
- It’s basically a one-pan wonder with easy clean-up
- It reheats beautifully if there’s any leftover
Choosing Your Ingredients
When picking apples, I usually go for a mix of Granny Smith and Honeycrisp. The tartness of Granny Smith complements the sweetness of Honeycrisp beautifully. However, don’t hesitate to use whatever apples you have on hand; any variety will work in a pinch. Just aim for a balance of sweet and tart for the best results.
For the topping, the butter really makes a difference, so I always use Kerrygold. It has a rich taste that shines through in the crisp. If you need to use something else, just make sure it’s unsalted butter to keep the saltiness in check. Oh, and if you’re out of brown sugar, white sugar can work too, though it won't be as caramel-like.
A Quick Note on Apple Crisp Skillet
This recipe is pretty forgiving, but I have learned that letting the apple mixture sit for a few minutes is helpful. It draws out some juice, which creates a lovely sauce during baking. Just keep an eye on it so it doesn’t get too watery, which can happen if you’re using very juicy apples.
As for the baking time, I recommend checking it around the 25-minute mark. Every oven is different, and you want that topping to be golden rather than dark brown. That smell wafting through your kitchen will be your best friend as you monitor it. If it’s bubbling and looks inviting, it's good to go!
Ingredients
This is what you’ll need to make the most comforting apple crisp:
For the Filling
- 4 large apples (I like a mix of Granny Smith and Honeycrisp)
- 1/3 cup granulated sugar
- 1 tsp cinnamon
- 1 tsp lemon juice
For the Topping
- 1 cup old-fashioned oats
- 1/2 cup all-purpose flour
- 1/2 cup brown sugar, packed
- 1/4 cup Kerrygold butter, melted
- 1/4 tsp salt
Keep in mind that the type of apples really affects the taste, so mix it up!
Instructions
Here’s how to put this together:
Preheat the Oven
First, preheat your oven to 350°F (175°C). This is important to make sure everything cooks evenly, so don’t skip this step.
Prepare the Apples
Peel, core, and slice the apples into thin pieces. Then, in a large mixing bowl, toss the apple slices with the granulated sugar, cinnamon, and lemon juice until they're well coated. It helps to let them sit for a few minutes to draw out some moisture.
Make the Topping
In another bowl, combine the oats, flour, brown sugar, melted butter, and salt. Stir everything until it looks crumbly. I usually just mix with my hands because it’s easier and feels more satisfying.
Assemble and Bake
Spread the apple mixture evenly in a 10-inch cast iron skillet. Then sprinkle the topping over the apples. Bake it in the preheated oven for about 30 minutes or until the apples are bubbly and the topping is golden brown. You’ll know it’s done when you can smell the goodness wafting through the house.
Cool and Serve
Let it cool for a few minutes before serving, but honestly, if you can’t wait, a scoop of vanilla ice cream on top isn't going to hurt anyone!
Enjoy the warm, comforting taste of this homemade treat!
Pro Tips
- If you like a bit of crunch, toss in some chopped walnuts or pecans into the topping.
- For a vegan option, try using coconut oil instead of butter.
- Feel free to adjust the sugar to your taste, especially if you like your desserts less sweet.
Apple Crisp Skillet Leftovers Plan
If you've got leftovers, you’re in for a treat because this apple crisp reheats really well. Just pop it in the microwave for a quick bite or warm it in the oven for about 10 minutes at 350°F, to keep that topping crispy. I like to add a scoop of ice cream on top even on day two; it just gives it a little extra joy.
The crisp will last in the fridge for about 3-4 days. Just make sure to cover it well, or it might dry out. Honestly, I find that the flavors deepen a bit after a day, so you might actually enjoy it more the second time around.
Dietary Swaps
If you’re looking for a way to make this recipe a bit healthier, you can swap out half of the all-purpose flour in the topping for almond flour or whole wheat flour. It gives it a nuttier taste and adds a bit more nutrition. I’ve tried both and they turn out just fine.
For a dairy-free version, substitute the butter with coconut oil or a plant-based butter. Just be careful to melt it gently; too high of heat can change the texture. And if you want to cut back on sugar, you could also use maple syrup or honey in the apple filling. Just adjust the amount of granulated sugar accordingly, or it may end up a bit too sweet.
Questions About Recipes
→ Can I use frozen apples?
You can, but I wouldn't recommend it unless you're in a pin. They can get mushy when baked.
→ What’s the best way to store leftovers?
Just cover it with plastic wrap and pop it in the fridge. It’s good for about 3 days.
→ Can I double the recipe?
Absolutely! Just use a larger skillet or bake it in two separate pans. You might need to adjust the baking time a little.
Apple Crisp Skillet
Created by: The Tastycrafter Team
Recipe Type: Gourmet Baking Bliss
Skill Level: easy
Final Quantity: 4.0
What You'll Need
For the Filling
- 4 large apples (I like a mix of Granny Smith and Honeycrisp)
- 1/3 cup granulated sugar
- 1 tsp cinnamon
- 1 tsp lemon juice
For the Topping
- 1 cup old-fashioned oats
- 1/2 cup all-purpose flour
- 1/2 cup brown sugar, packed
- 1/4 cup Kerrygold butter, melted
- 1/4 tsp salt
How-To Steps
First, preheat your oven to 350°F (175°C). This is important to make sure everything cooks evenly, so don’t skip this step.
Peel, core, and slice the apples into thin pieces. Then, in a large mixing bowl, toss the apple slices with the granulated sugar, cinnamon, and lemon juice until they're well coated. It helps to let them sit for a few minutes to draw out some moisture.
In another bowl, combine the oats, flour, brown sugar, melted butter, and salt. Stir everything until it looks crumbly. I usually just mix with my hands because it’s easier and feels more satisfying.
Spread the apple mixture evenly in a 10-inch cast iron skillet. Then sprinkle the topping over the apples. Bake it in the preheated oven for about 30 minutes or until the apples are bubbly and the topping is golden brown. You’ll know it’s done when you can smell the goodness wafting through the house.
Let it cool for a few minutes before serving, but honestly, if you can’t wait, a scoop of vanilla ice cream on top isn't going to hurt anyone!
Extra Tips
- If you like a bit of crunch, toss in some chopped walnuts or pecans into the topping.
- For a vegan option, try using coconut oil instead of butter.
- Feel free to adjust the sugar to your taste, especially if you like your desserts less sweet.
Nutritional Breakdown (Per Serving)
- Calories (kcal): 256
- Total Fat (g): 11.4
- Saturated Fat (g): 5.7
- Cholesterol (mg): 29
- Sodium (mg): 107
- Total Carbohydrates (g): 42.3
- Dietary Fiber (g): 4.6
- Sugars (g): 18.7
- Protein (g): 2.6