Baked Risotto Easy
Highlighted under: Quick & Tasty Creations
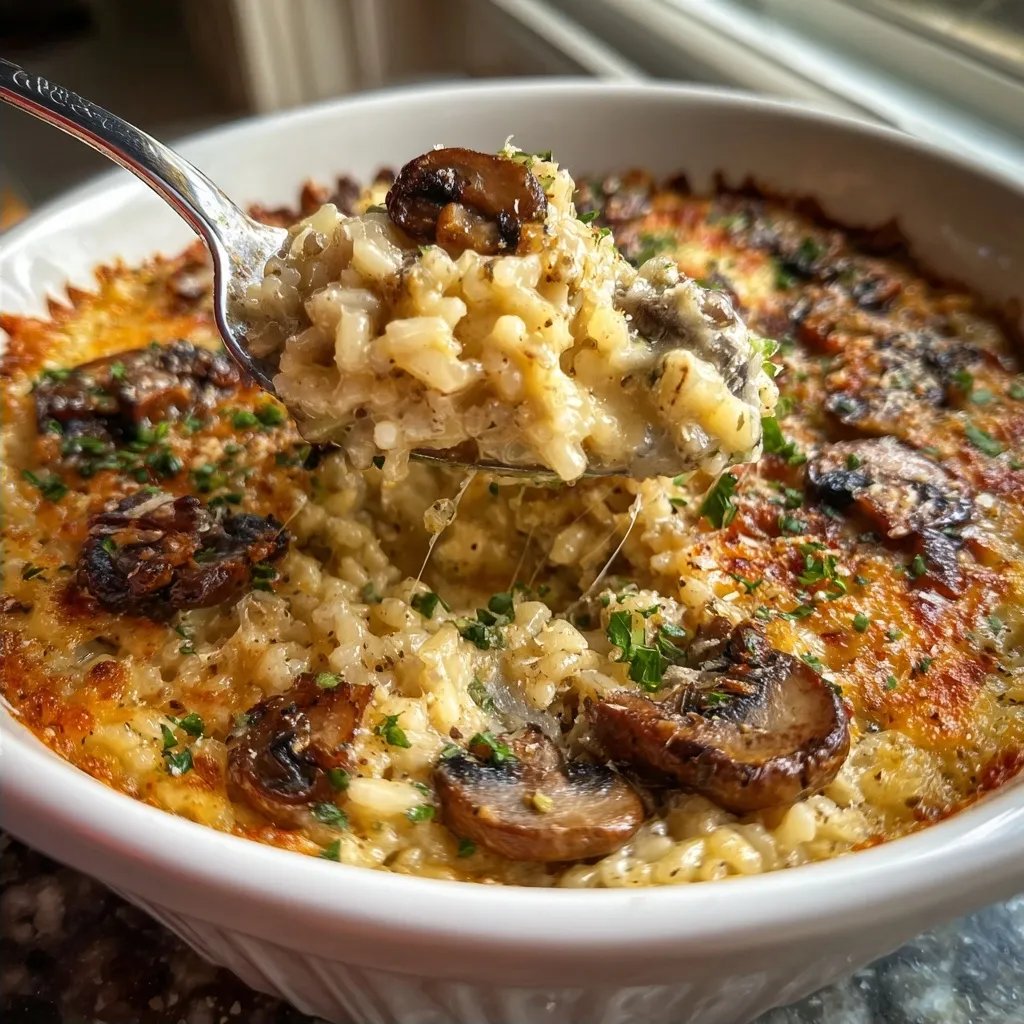
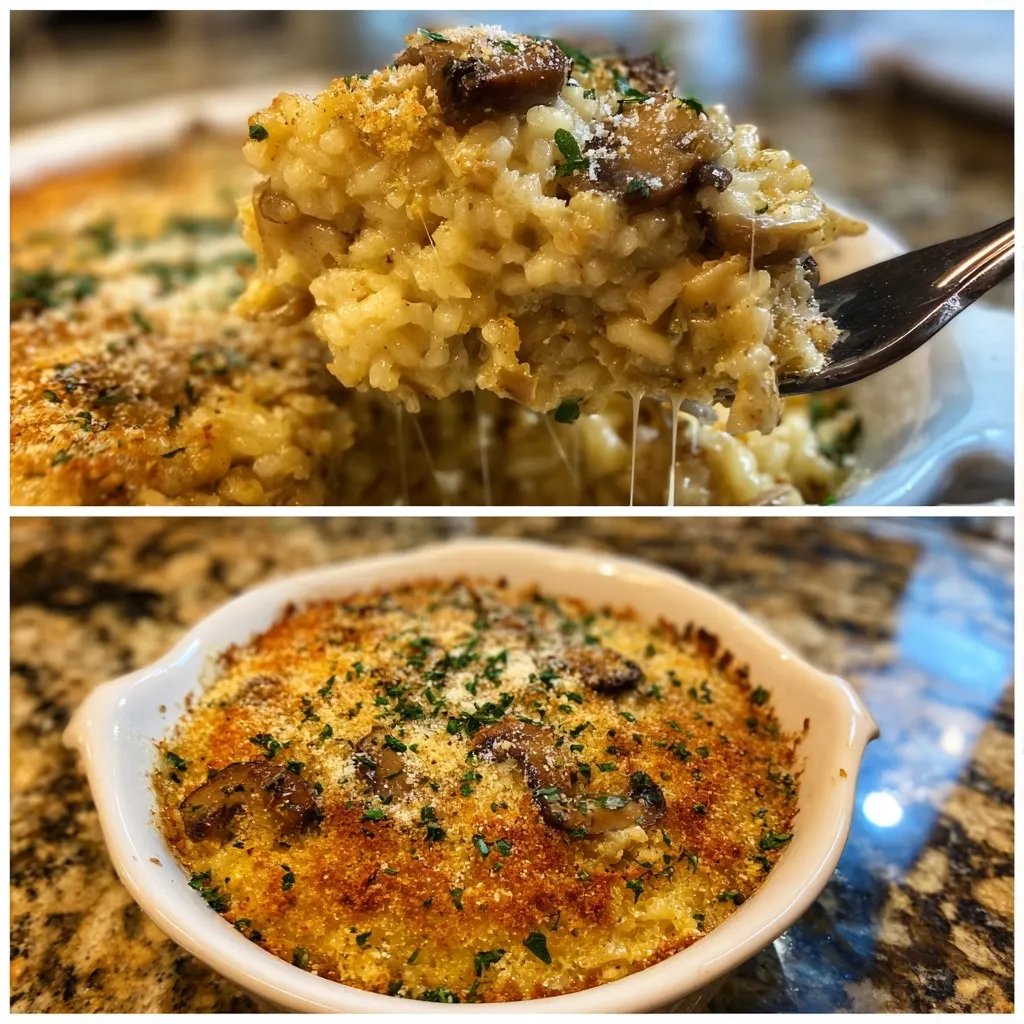
Creamy, cheesy goodness that fills the kitchen with a warm aroma, this baked risotto becomes a staple in my home. Every time I prepare it, my family gathers around, eagerly anticipating a cozy meal. I first made this when I was juggling work and cooking for my kids. Honestly, it gets a little hectic, but this dish saves the day. With just a bit of prep, I can pop it in the oven and focus on other things while it turns creamy and dreamy.
One time, I got a bit too excited with the broth and ended up with something closer to soup than risotto. It was a *learning experience*, let me tell you! I realized that controlling the amount of liquid is key. Now, I keep a close eye on it, and it always turns out beautifully thick.
Another time, while preparing this dish for a dinner party, I underestimated how much my friends would love it. They all asked for seconds, and I felt like a proud chef. I knew I had hit the right spot with the creamy texture and cheesy taste. This is a recipe I'm proud to share.
What Makes This Stand Out
- The risotto gets creamy without constant stirring
- You can customize with any veggies you have
- It's a great dish to make ahead and reheat
- Everyone can help by adding their favorite toppings
Key Technique for Baked Risotto Easy
The magic of baked risotto is all in the oven. Instead of standing over a hot stove, constantly stirring, you just get everything combined and let the oven do the work. Make sure your pot has a lid that fits well. If there’s too much steam escaping, it might dry out, and nobody wants that!
When adding the broth after toasting the rice, keep an eye on the simmering process. A gentle simmer works best; if it’s rolling too vigorously, the rice might cook unevenly. Look for those little bubbles gently breaking the surface. This will get you the creamy texture we’re after.
Swaps & Substitutions
The beauty of risotto is how flexible it is. Arborio rice is great, but if you have other short-grain rice like Carnaroli or even sushi rice, they can work in a pinch. I’ve even used brown rice in the past, but it does require a longer cooking time, so just adjust your liquid and time accordingly.
If you don’t have frozen peas, don't worry! Fresh veggies like asparagus, spinach, or bell peppers can be tossed in. Just know that they might need a quicker sauté or a slightly different baking time. I’ve used leftover roasted veggies too, which adds a nice depth to the dish.
Ingredients
For the Risotto
- 1 cup Arborio rice
- 4 cups chicken or vegetable broth
- 1 small onion, diced
- 2 tablespoons olive oil
- 1 cup frozen peas
- 1 cup shredded Parmesan cheese
- Salt and pepper to taste
Instructions
Preheat the Oven
First, preheat your oven to 375°F (190°C). This is an important step to ensure that the risotto cooks evenly and comes out creamy.
Cook the Aromatics
In a large oven-safe pot, heat the olive oil over medium heat. Add the diced onion and sauté until soft, about 5 minutes. If the onion starts browning too quickly, lower the heat a bit—you want them tender, not burnt.
Add the Rice
Stir in the Arborio rice and let it cook for a minute or two. This helps to toast the rice slightly, giving it more flavor. You’ll know it’s ready when the edges of the rice turn a little translucent.
Add the Liquid
Pour in the broth and bring it to a gentle simmer. Once simmering, add salt and pepper to taste. I usually taste it at this stage and adjust because I like my risotto a bit on the salty side.
Bake
Cover the pot with a lid or foil and place it in the oven for 25-30 minutes. Check halfway through to give it a quick stir and see how it’s doing. You want all that liquid absorbed but not dried out, so keep an eye on it.
Stir in Cheese and Peas
Once the risotto comes out of the oven, stir in the frozen peas and grated Parmesan cheese. The cheese will melt into the warm risotto, making it even creamier. Give it a taste—adjust seasoning if needed.
Serve
Spoon the risotto into bowls and maybe sprinkle some extra cheese on top if you're feeling fancy. I like to serve this with a simple salad on the side—it balances everything out nicely.
Pro Tips
- You can switch the peas for other veggies like asparagus or spinach, depending on what you have.
- Try adding a splash of white wine after the onion phase for a nice depth.
- If you find it too thick when it cools, just stir in a little more broth when reheating.
- Make sure to adjust salt and pepper at the end since the cheese adds its own saltiness.
What to Serve with Baked Risotto Easy
Baked risotto pairs wonderfully with a simple salad. I like to whip up a quick arugula salad with a squeeze of lemon and olive oil to brighten the meal. You can also serve some crusty bread on the side to soak up any leftover creamy goodness.
Don’t hesitate to throw in a protein to round things out. Grilled chicken or shrimp can be great additions. Just keep it light, so the risotto remains the star of the show!
Make-Ahead Tips
If you want to prep this dish ahead of time, go for it! Just assemble everything and keep it covered in the fridge before baking. When you’re ready to eat, add a few extra minutes to the baking time because it’ll be starting cold. Honestly, I've done this when I’m short on time and it still turns out great.
Another option is to bake it fully and then store leftovers in the fridge. I find that it reheats quite well, just add a splash of broth or water to loosen it up before popping it in the microwave or oven again. Sometimes I even turn it into a baked fritatta by mixing in a couple of beaten eggs and baking again!
Questions About Recipes
→ Can I use brown rice instead of Arborio?
You can, but I wouldn't—brown rice takes longer to cook and won't get that creamy texture.
→ What should I serve it with?
Honestly, a light salad or some grilled chicken pairs really well. It’s nice to balance the creaminess.
→ Is this dish freezable?
I've tried freezing it, and it sometimes loses that creamy vibe. It’s better fresh, but you could give it a shot and add some broth when reheating.
→ Do I really need to stir it?
Most recipes say you do, but I find that baking it mostly takes care of it. Just keep an eye on the liquid and give it a quick stir midway.
Baked Risotto Easy
Created by: The Tastycrafter Team
Recipe Type: Quick & Tasty Creations
Skill Level: Intermediate
Final Quantity: 4.0
What You'll Need
For the Risotto
- 1 cup Arborio rice
- 4 cups chicken or vegetable broth
- 1 small onion, diced
- 2 tablespoons olive oil
- 1 cup frozen peas
- 1 cup shredded Parmesan cheese
- Salt and pepper to taste
How-To Steps
First, preheat your oven to 375°F (190°C). This is an important step to ensure that the risotto cooks evenly and comes out creamy.
In a large oven-safe pot, heat the olive oil over medium heat. Add the diced onion and sauté until soft, about 5 minutes. If the onion starts browning too quickly, lower the heat a bit—you want them tender, not burnt.
Stir in the Arborio rice and let it cook for a minute or two. This helps to toast the rice slightly, giving it more flavor. You’ll know it’s ready when the edges of the rice turn a little translucent.
Pour in the broth and bring it to a gentle simmer. Once simmering, add salt and pepper to taste. I usually taste it at this stage and adjust because I like my risotto a bit on the salty side.
Cover the pot with a lid or foil and place it in the oven for 25-30 minutes. Check halfway through to give it a quick stir and see how it’s doing. You want all that liquid absorbed but not dried out, so keep an eye on it.
Once the risotto comes out of the oven, stir in the frozen peas and grated Parmesan cheese. The cheese will melt into the warm risotto, making it even creamier. Give it a taste—adjust seasoning if needed.
Spoon the risotto into bowls and maybe sprinkle some extra cheese on top if you're feeling fancy. I like to serve this with a simple salad on the side—it balances everything out nicely.
Extra Tips
- You can switch the peas for other veggies like asparagus or spinach, depending on what you have.
- Try adding a splash of white wine after the onion phase for a nice depth.
- If you find it too thick when it cools, just stir in a little more broth when reheating.
- Make sure to adjust salt and pepper at the end since the cheese adds its own saltiness.
Nutritional Breakdown (Per Serving)
- Calories (kcal): 392
- Total Fat (g): 14.2
- Saturated Fat (g): 4.2
- Cholesterol (mg): 20
- Sodium (mg): 580
- Total Carbohydrates (g): 54.1
- Dietary Fiber (g): 2.5
- Sugars (g): 2.3
- Protein (g): 10.4