Hasselback Potatoes Garlic
Highlighted under: Quick & Tasty Creations
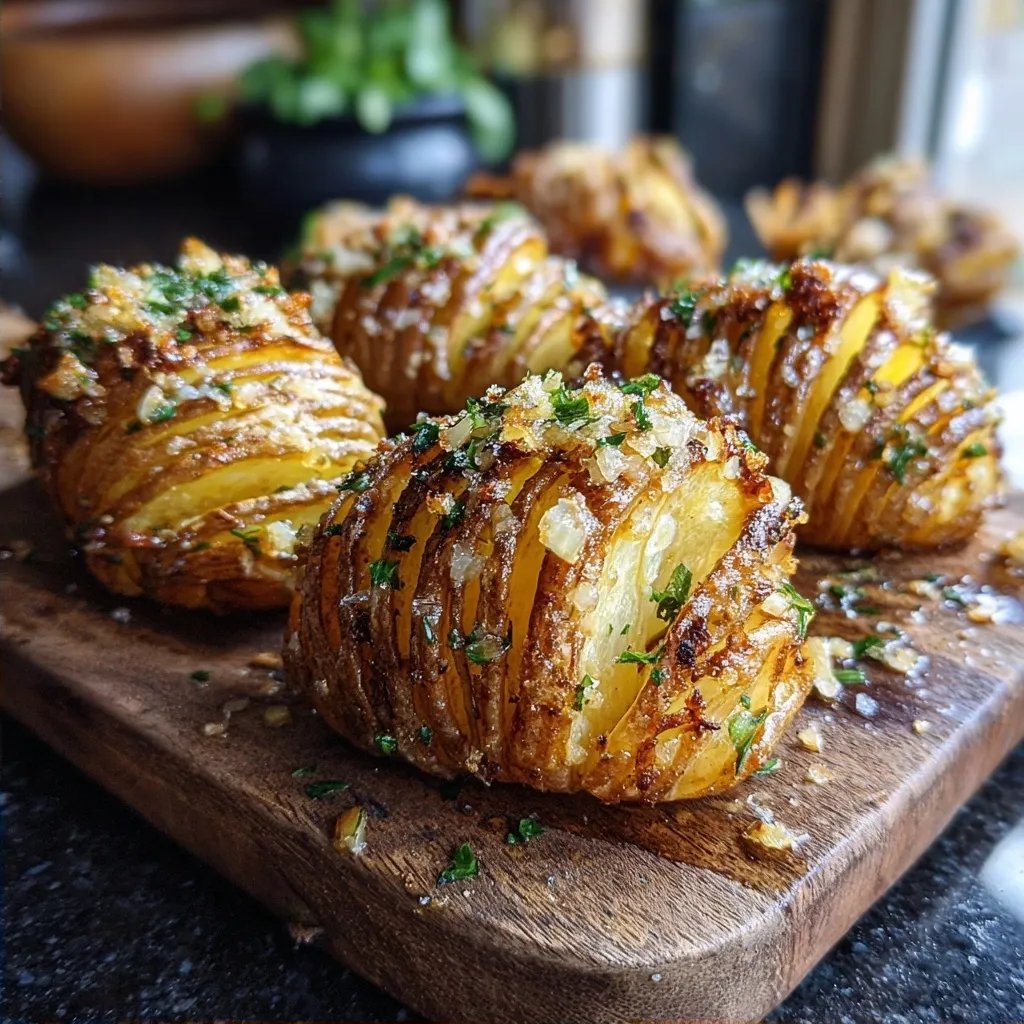
Fall is here, and I find myself craving all the cozy, comforting foods. One of my recent favorites has been these Hasselback potatoes, which I love filling with garlic and herbs. They not only look fancy, but they're also pretty simple to make. I mean, really, who doesn't want crispy edges with a buttery, garlicky center on those chilly evenings? Let me share how I make them.
One evening, I was so excited to make these potatoes that I forgot to adjust my oven rack. Can you guess what happened? I put them too close to the top, and the tops got a little charred. Lesson learned: keep an eye on your potatoes while they cook, and always check that oven position!
I've played around with the seasonings, but honestly, garlic and butter is a classic combo that won’t let you down. Sometimes I like to sprinkle a little parmesan right at the end for added richness, but that's just me being extra. Give it a try!
The Secret to This Hasselback Potatoes Garlic
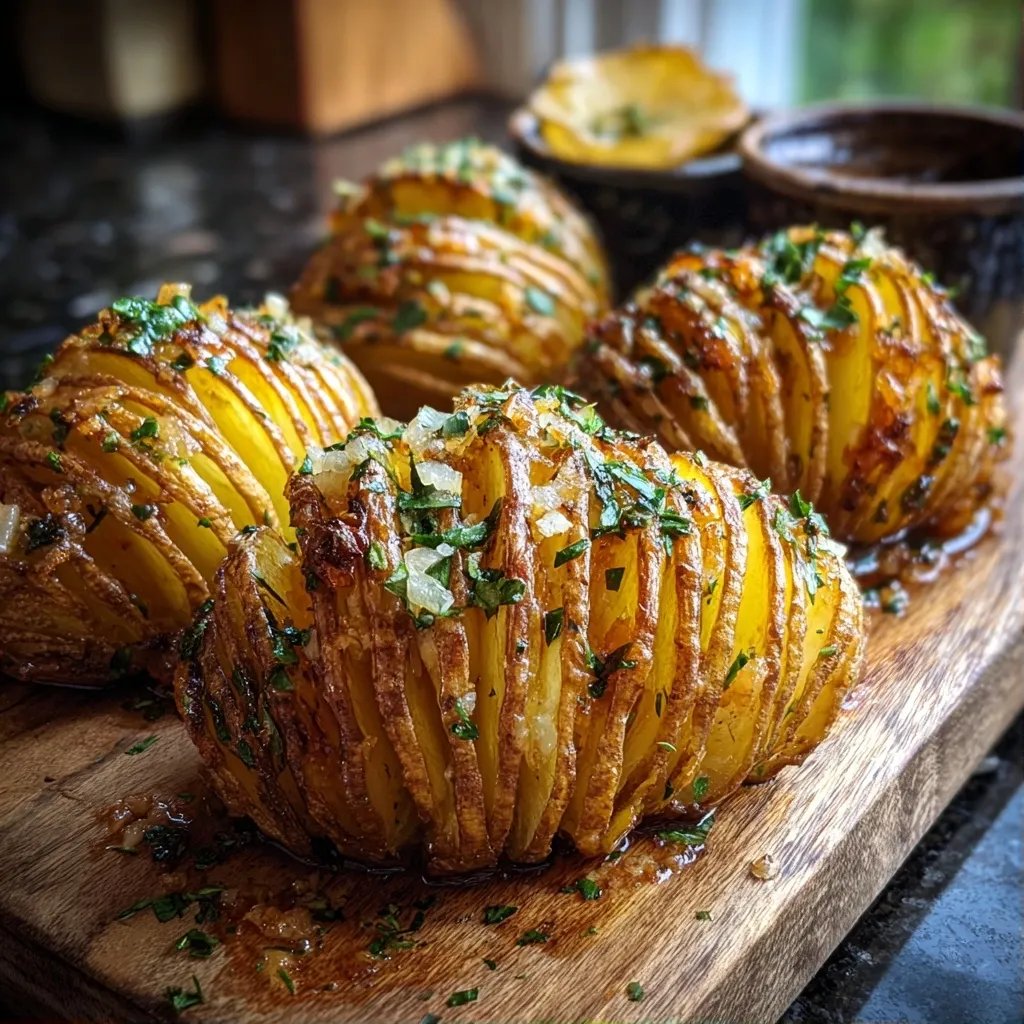
The beauty of Hasselback potatoes lies in how they look when they come out of the oven. Those crispy, golden layers just beg to be served at the dinner table. The trick to getting that amazing texture is all in the slicing—those shallow cuts allow the butter and garlic mixture to seep in and really get into every nook and cranny. Honestly, I sometimes struggle to get the cuts even, but that just adds to their charm.
Another tip is to use the best butter you can find. The Kerrygold butter I use adds a richness that really enhances the garlic and herbs. When you’re mixing it all together, you’ll notice how glossy it becomes, and that’s what you want—glossy means flavorful. If you don’t have fresh herbs on hand, dried ones work just fine too, though you might want to reduce the amount since they’re more concentrated.
Ingredients
Here’s what you need to gather:
For the Hasselback Potatoes
- 4 medium-sized russet potatoes
- 1/4 cup Kerrygold butter, melted
- 4 cloves garlic, minced
- 1 tablespoon fresh rosemary, chopped
- 1 tablespoon fresh thyme, chopped
- 1 teaspoon Diamond Crystal kosher salt
- 1/2 teaspoon black pepper
Feel free to adjust the seasoning to your taste!
Instructions
Let’s get cooking:
Prep the Potatoes
Preheat your oven to 425°F (220°C). While that’s heating up, scrub the potatoes well to remove any dirt. You want them clean since you’re leaving the skin on. Next, make shallow cuts across each potato, about a quarter-inch apart. Be careful not to cut all the way through; you want them to hold their shape.
Mix the Butter and Garlic
In a small bowl, combine the melted Kerrygold butter, garlic, rosemary, thyme, salt, and pepper. This buttery mixture is where all the flavor comes from, so don’t skip this step. I usually make a double batch of this if I’m feeling generous.
Coat the Potatoes
Place the potato on a lined baking sheet. Using a spoon, drizzle some of that buttery garlic mixture all over the potatoes, making sure it gets into the cuts. I like to reserve a little butter to brush on later, just for that extra richness while they're baking.
Bake Them Up
Pop them in the oven for about 45 minutes. Halfway through, baste them with the remaining butter mixture. You want them tender in the middle and getting nice and crispy on the edges. They’ll be done when you can insert a fork easily but there’s still a bit of resistance.
Give them a few minutes to rest before serving!
Pro Tips
- Try adding a sprinkle of paprika or cayenne for a little kick.
- These potatoes pair beautifully with sour cream or Greek yogurt on the side.
- If you’re feeling adventurous, add cheeses like cheddar or gouda in between the slices before baking.
How to Store Hasselback Potatoes Garlic
If you happen to have leftovers (which is a bit of a rarity in my house), let the potatoes cool completely before storing them in an airtight container. They’ll keep in the fridge for about 2-3 days. Just remember, the longer they sit, the less crispy they become. When you go to reheat them, a quick spin in the oven works wonders—about 10-15 minutes at 350°F should do the trick to rejuvenate that crispy texture.
Ways to Switch It Up
Getting creative with these potatoes is half the fun! Sometimes, I add cheese into the cuts for an extra layer of gooey goodness. Just sprinkle some grated cheese in as you drizzle the buttery mixture. Get adventurous by swapping in different herbs like basil or even adding a pinch of red pepper flakes for some heat. Don’t be afraid to experiment with flavors—each time can be a little different, and you might discover your own delicious version.
For a quicker option, I’ve resorted to using pre-minced garlic and dried herbs when I’m short on time. It’s not quite the same as fresh, but it still brings a nice flavor to the mix. And if you’re really pressed for time, you can always slice the potatoes thinner to speed up the baking process; just keep an eye on them so they don’t over-bake.
Questions About Recipes
→ Can I use other types of potatoes?
Sure, but I find russets give the best texture for Hasselback potatoes. They get crispy outside and fluffy inside.
→ How do I store leftovers?
Store them in an airtight container in the fridge for a few days. You can reheat them in the oven to regain some crispiness.
→ Can I make these ahead of time?
You can prep the potatoes and store them in water in the fridge for a few hours, but they’re best fresh out of the oven.
→ What should I serve these with?
Honestly, they pair great with almost anything! They’re particularly nice with grilled meats or a simple salad.
Hasselback Potatoes Garlic
Created by: The Tastycrafter Team
Recipe Type: Quick & Tasty Creations
Skill Level: Intermediate
Final Quantity: 4.0
What You'll Need
For the Hasselback Potatoes
- 4 medium-sized russet potatoes
- 1/4 cup Kerrygold butter, melted
- 4 cloves garlic, minced
- 1 tablespoon fresh rosemary, chopped
- 1 tablespoon fresh thyme, chopped
- 1 teaspoon Diamond Crystal kosher salt
- 1/2 teaspoon black pepper
How-To Steps
Preheat your oven to 425°F (220°C). While that’s heating up, scrub the potatoes well to remove any dirt. You want them clean since you’re leaving the skin on. Next, make shallow cuts across each potato, about a quarter-inch apart. Be careful not to cut all the way through; you want them to hold their shape.
In a small bowl, combine the melted Kerrygold butter, garlic, rosemary, thyme, salt, and pepper. This buttery mixture is where all the flavor comes from, so don’t skip this step. I usually make a double batch of this if I’m feeling generous.
Place the potato on a lined baking sheet. Using a spoon, drizzle some of that buttery garlic mixture all over the potatoes, making sure it gets into the cuts. I like to reserve a little butter to brush on later, just for that extra richness while they're baking.
Pop them in the oven for about 45 minutes. Halfway through, baste them with the remaining butter mixture. You want them tender in the middle and getting nice and crispy on the edges. They’ll be done when you can insert a fork easily but there’s still a bit of resistance.
Extra Tips
- Try adding a sprinkle of paprika or cayenne for a little kick.
- These potatoes pair beautifully with sour cream or Greek yogurt on the side.
- If you’re feeling adventurous, add cheeses like cheddar or gouda in between the slices before baking.
Nutritional Breakdown (Per Serving)
- Calories (kcal): 210
- Total Fat (g): 12.9
- Saturated Fat (g): 7.6
- Cholesterol (mg): 31
- Sodium (mg): 632
- Total Carbohydrates (g): 24.2
- Dietary Fiber (g): 2.4
- Sugars (g): 0.8
- Protein (g): 3.5