Homemade Cheesy Breadsticks: An Amazing Ultimate Recipe
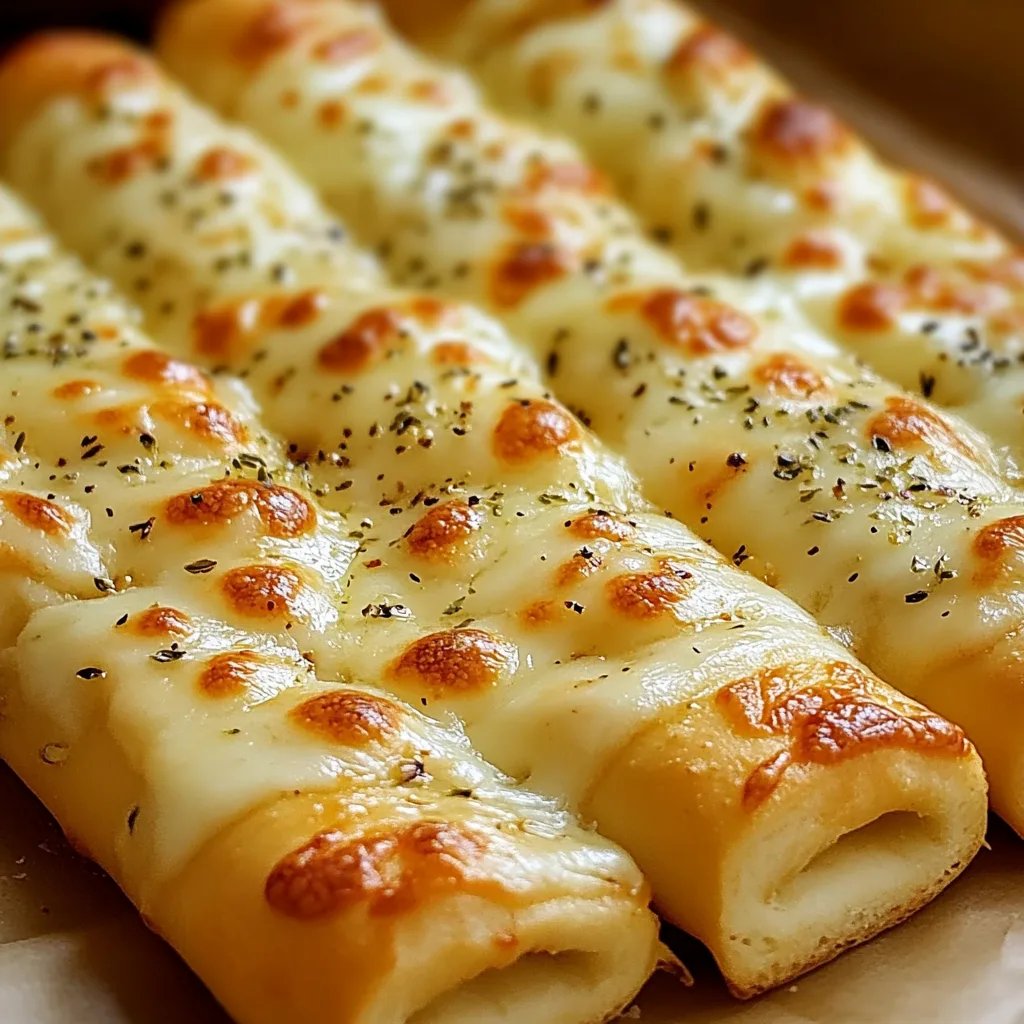
Homemade Cheesy Breadsticks are a delightful addition to any meal or snack time. With their crispy exterior and gooey, melty cheese, these breadsticks are sure to impress everyone at the table. Imagine biting into a warm, homemade breadstick that oozes with flavor and comfort. Perfect for dipping into marinara or enjoying on their own, these breadsticks offer a wonderful combination of texture and taste.
If you’re searching for the ultimate cheesy treat to serve at parties, movie nights, or even just a cozy dinner, look no further! This homemade recipe is not only simple to follow but also guarantees amazing results. You’ll find that the aroma of freshly baked breadsticks fills your kitchen, drawing in family and friends, eager to indulge in this delicious goodness.
The beauty of homemade Cheesy Breadsticks lies in their versatility. You can use different cheeses, herbs, and spices to create your unique twist. This recipe will walk you through the basics while leaving room for creativity. Let’s explore what makes these Homemade Cheesy Breadsticks a must-try for everyone!
Why You’ll Love This Recipe
Homemade Cheesy Breadsticks are more than just a delicious snack; they bring joy and satisfaction with every bite. Here are some compelling reasons to love this recipe:
1. Simple Ingredients – Most items are pantry staples, making it easy to whip up a batch anytime.
2. Quick to Prepare – You can have these breadsticks ready to go in less than an hour.
3. Great for Sharing – Perfect for gatherings, these cheesy delights always please a crowd.
4. Versatile Flavor Options – Customize your breadsticks with a variety of cheeses, herbs, or dips.
5. Kid-Friendly Fun – Kids love to help make these, making it a family-friendly activity.
6. Deliciously Addictive – Once you taste one, you’ll want more!
All these factors contribute to why Homemade Cheesy Breadsticks are bound to become a favorite in your household!
Preparation and Cooking Time
Preparing Homemade Cheesy Breadsticks is quick and straightforward. Here’s the time breakdown for making these delicious treats:
– Preparation Time: 15 minutes
– Cooking Time: 15-20 minutes
– Total Time: Approximately 30-35 minutes
These quick times make this recipe ideal for impromptu gatherings or a simple snack at home.
Ingredients
– 1 cup warm water (110°F or 45°C)
– 2 teaspoons sugar
– 2 ¼ teaspoons active dry yeast (1 packet)
– 3 cups all-purpose flour
– 1 teaspoon salt
– 2 tablespoons olive oil
– 1 ½ cups shredded mozzarella cheese
– ½ cup grated Parmesan cheese
– 1 teaspoon garlic powder
– 1 teaspoon dried Italian herbs (optional)
– Cooking spray or additional oil for greasing
Step-by-Step Instructions
Creating homemade Cheesy Breadsticks is an enjoyable process that anyone can follow. Here’s how to do it:
1. Activate the Yeast: In a bowl, combine warm water and sugar. Sprinkle the yeast on top and let it sit for 5-10 minutes until it becomes frothy.
2. Combine Dry Ingredients: In a large mixing bowl, whisk together the flour and salt.
3. Mix Wet and Dry Ingredients: Once the yeast is activated, add it and the olive oil to the flour mixture. Stir until a dough forms.
4. Knead the Dough: Transfer the dough onto a floured surface and knead it for about 5 minutes until smooth and elastic.
5. First Rise: Place the dough in a greased bowl, cover it with a damp cloth, and let it rise in a warm area for about 30 minutes or until it doubles in size.
6. Preheat Oven: While the dough is rising, preheat your oven to 400°F (200°C) and grease a baking sheet.
7. Shape the Dough: Once risen, punch down the dough and roll it out on a floured surface into a rectangle, about ½ inch thick.
8. Add Cheese: Sprinkle the mozzarella and Parmesan cheese evenly over the top. Optionally, add garlic powder and dried herbs for extra flavor.
9. Cut the Breadsticks: Using a knife or pizza cutter, slice the dough into strips of your desired size.
10. Second Rise: Place the cut breadsticks on the prepared baking sheet. Cover once more and let them rise for another 10-15 minutes.
11. Bake: Bake in the preheated oven for 15-20 minutes or until golden brown.
12. Cool and Serve: Remove the breadsticks from the oven and allow them to cool slightly before serving.
These straightforward steps ensure you’ll have thick, cheesy, and absolutely delicious breadsticks ready in no time!
How to Serve
When it comes to enjoying Homemade Cheesy Breadsticks, consider the following tips to enhance your serving experience:
1. Dipping Sauces: Serve with marinara, ranch, or garlic butter for dipping.
2. Fresh Herbs: Sprinkle fresh parsley or basil on top for a beautiful finish.
3. Cheese Lovers: For an extra cheesy experience, serve with additional grated cheese on the side.
4. Presentation: Use a wooden board or a large white plate for an appealing presentation.
5. Pairing with Meals: These breadsticks complement pasta dishes, soups, or salads perfectly, making them an excellent side.
By thinking creatively about how you serve these breadsticks, you can elevate the entire meal, impressing your guests and satisfying your cravings!
Now that you have all the steps and tips for making Homemade Cheesy Breadsticks, it’s time to get started on this cheesy delight! Enjoy this ultimate recipe and transform your snack time into a delicious experience!
Additional Tips
– Use Fresh Ingredients: For the best flavor, ensure your yeast is active and your cheeses are fresh.
– Experiment with Cheeses: Try adding cheddar, Gouda, or a spicy pepper jack for different flavors.
– Brush with Herb Butter: Brush melted butter with Italian herbs on top before serving for an extra kick.
– Add a Kick of Spice: For those who enjoy a bit of heat, sprinkle some crushed red pepper flakes on top before baking.
Recipe Variation
Feel free to create your own twists! Here are a few variations to consider:
1. Stuffed Breadsticks: Add a layer of pepperoni or sautéed spinach and feta cheese inside the breadsticks before rolling them up.
2. Sweet Version: For a dessert twist, sprinkle cinnamon and sugar over the top before baking.
3. Herb-Infused: Mix fresh herbs like rosemary or thyme into the dough for an herby flavor.
Freezing and Storage
– Storage: Keep leftover breadsticks in an airtight container at room temperature for up to 3 days. Reheat in the oven for best results.
– Freezing: Wrap individual breadsticks tightly in plastic wrap and freeze for up to 2 months. Reheat directly from the freezer in the oven.
Special Equipment
While this recipe is straightforward, a few tools will make your preparation easier:
– Mixing Bowls: For combining ingredients.
– Rolling Pin: For rolling out the dough evenly.
– Pizza Cutter or Knife: For cutting the dough into strips.
– Baking Sheet: To bake the breadsticks on.
Frequently Asked Questions
Can I use whole wheat flour instead of all-purpose flour?
Yes, you can substitute whole wheat flour, but the texture might be denser.
What can I use if I don’t have olive oil?
You can substitute with melted butter or canola oil if needed.
How do I know when my breadsticks are done?
Breadsticks are done when they are golden brown on top and sound hollow when tapped.
Can I make the dough ahead of time?
Yes, you can prepare the dough a few hours in advance and store it in the fridge before the first rise.
Is there a vegan option for this recipe?
You can substitute the cheese with vegan cheese and use plant-based milk to activate the yeast.
Conclusion
Homemade Cheesy Breadsticks are a fantastic recipe that nobody can resist. The harmonious blend of crispy bread and gooey cheese makes them a perfect companion for any meal or occasion. Whether you’re enjoying them fresh out of the oven or planning to store them for later, these breadsticks are versatile and always satisfying. With the hints provided in this article, you can create a delicious and personalized experience that will keep friends and family coming back for more!