Homemade Cheesy Breadsticks: An Amazing Ultimate Recipe
Homemade Cheesy Breadsticks are a delightful way to elevate any meal or serve as an irresistible snack. These breadsticks are loaded with flavors and cheesy goodness that will have everyone coming back for seconds. Whether you’re enjoying a cozy night in with family, hosting a party, or looking for the perfect side dish for your pasta, these cheesy delights will surely impress. The aroma of freshly baked breadsticks fills your kitchen, creating a welcoming atmosphere that everyone will enjoy.
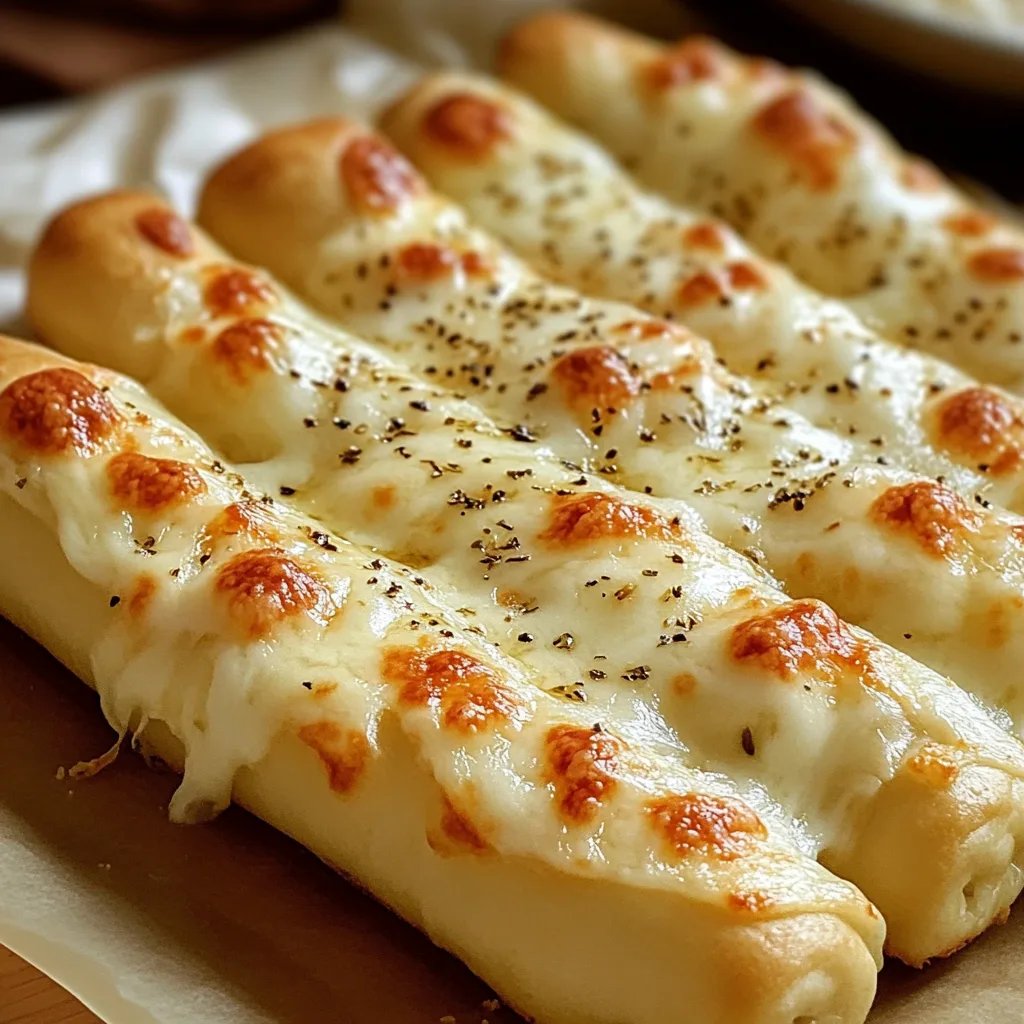
Imagine pulling a tray of hot, cheesy breadsticks out of the oven, the gooey cheese stretching as you break them apart. With a sprinkle of herbs and a golden crust, these breadsticks are not just a side; they are a star on their own. The best part? They’re incredibly easy to make! With just a few ingredients that you probably already have in your pantry, you can whip up a batch that makes every bite an adventure of flavor.
In this guide, you will discover why Homemade Cheesy Breadsticks are the ultimate snack, what makes this recipe stand out, and step-by-step instructions for creating your very own cheesy masterpiece. Whether you’re a beginner or an experienced cook, these breadsticks are a simple yet fantastic way to treat yourself and your loved ones.
Why You’ll Love This Recipe
There are countless reasons why Homemade Cheesy Breadsticks will become your go-to recipe. Here are just a few:
1. Quick and Easy Preparation: This recipe requires minimal ingredients and preparation time, meaning you’ll be enjoying warm breadsticks in no time.
2. Perfect for Any Occasion: Whether it’s game day, movie night, or a family dinner, these breadsticks fit the bill perfectly.
3. Customizable Toppings: Feel free to experiment with different herbs, spices, or cheeses to tailor the flavor to your liking.
4. Kid-Friendly: Kids love cheese, and they will surely enjoy helping with this recipe, making it a fun family activity.
5. Deliciously Cheesy: The combination of gooey cheese and fresh-baked bread makes for an irresistible treat that everyone will love.
6. Impressive Presentation: These homemade breadsticks look gorgeous on a plate, making them perfect for entertaining guests.
With these advantages, it’s clear that this cheesy delight is a must-try!
Preparation and Cooking Time
To create your Homemade Cheesy Breadsticks, you will need only around 30-45 minutes in total. Here’s the breakdown:
– Preparation Time: 15-20 minutes
– Cooking Time: 15-20 minutes
This quick timeframe makes them an excellent choice for sudden cravings or last-minute guests, allowing you to serve up a hot and cheesy snack effortlessly.
Ingredients
– 2 cups all-purpose flour
– 1 tablespoon baking powder
– 1 teaspoon garlic powder
– 1 teaspoon salt
– 1 cup shredded mozzarella cheese
– 1/2 cup buttermilk (or regular milk)
– 1/4 cup melted butter
– 1 tablespoon dried oregano (optional)
– Fresh parsley for garnish (optional)
Step-by-Step Instructions
Creating homemade cheesy breadsticks is simple when you follow these steps:
1. Preheat the Oven: Preheat your oven to 400°F (200°C) and grease a baking sheet or line it with parchment paper.
2. Mix Dry Ingredients: In a large mixing bowl, combine flour, baking powder, garlic powder, and salt. Stir well to combine.
3. Add Cheese: Mix in the shredded mozzarella cheese, making sure it’s evenly distributed throughout the flour mixture.
4. Pour in Buttermilk: Add the buttermilk to the dry mixture and stir until just combined. If the dough is too sticky, you can add a little more flour.
5. Knead the Dough: Lightly flour a clean surface and knead the dough a few times until it becomes smooth and elastic.
6. Roll the Dough: Roll out the dough into a rectangle, about 1/2 inch thick.
7. Cut into Strips: Use a sharp knife or pizza cutter to cut the dough into strips, about 1 inch wide.
8. Place on Baking Sheet: Arrange the strips on the prepared baking sheet, leaving a little space between each.
9. Brush with Butter: Brush the melted butter over the top of each strip and sprinkle with dried oregano if desired.
10. Bake: Bake in the preheated oven for 15-20 minutes, or until golden brown and puffed up.
11. Garnish: Once baked, remove from the oven, let cool slightly, and garnish with freshly chopped parsley if using.
Follow these straightforward steps, and your Homemade Cheesy Breadsticks will be ready to enjoy!
How to Serve
To enjoy your Homemade Cheesy Breadsticks to their fullest, consider these serving suggestions:
1. Dipping Sauces: Serve with marinara, ranch dressing, or garlic butter for added flavor.
2. Accompanying Dishes: Pair with a fresh salad, pasta dishes, or soups to create a complete meal.
3. Presentation: Use a decorative basket lined with a cloth to present the warm breadsticks appealingly.
4. Rustic Appeal: You can sprinkle some shredded cheese on top right before serving for an additional melty touch.
5. Storage Tips: If you have leftovers, store them in an airtight container. Reheat in the oven for that fresh-out-of-the-oven taste.
By focusing on these serving ideas, you can turn these delicious breadsticks into an impressive feast for family and friends alike!
Additional Tips
– Use Fresh Ingredients: Fresh herbs, cheese, and dairy can greatly enhance the flavor of your Homemade Cheesy Breadsticks.
– Experiment with Cheeses: Try using a combination of mozzarella, cheddar, or parmesan for a unique flavor profile.
– Serve Warm: These breadsticks are best enjoyed freshly baked. Serve them warm for the best taste.
– Add a Dash of Spice: For a little kick, consider adding crushed red pepper flakes or a pinch of cayenne to the dough.
– Try Different Shapes: Instead of traditional sticks, you can shape the dough into knots or rolls for variety.
Recipe Variation
Feel free to get creative with your Homemade Cheesy Breadsticks! Here are a few variations to try:
1. Stuffed Breadsticks: Add some pepperoni or sautéed vegetables in the center before baking for a stuffed version.
2. Herbed Breadsticks: Incorporate fresh herbs like basil or thyme into the dough for added flavor.
3. Sweet and Savory: For a sweet twist, sprinkle cinnamon sugar on top of the melted butter instead of herbs.
4. Cheesy Topping: Before baking, sprinkle some extra cheese on top for an even cheesier treat.
Freezing and Storage
– Storage: Keep your leftover breadsticks in an airtight container at room temperature for up to 2 days.
– Freezing: These breadsticks can be frozen for longer storage. Place them in a freezer-safe bag, and they will last for about 2-3 months. To reheat, bake them from frozen at 350°F (175°C) until warmed through.
Special Equipment
To make preparing your Homemade Cheesy Breadsticks easy, you will need a few essential kitchen tools:
– Mixing bowls
– Rolling pin
– Sharp knife or pizza cutter
– Baking sheet
– Parchment paper or cooking spray for greasing
Frequently Asked Questions
Can I use whole wheat flour instead of all-purpose flour?
Yes, whole wheat flour can be used, but the texture may be denser.
What type of cheese works best?
Mozzarella cheese is ideal for its meltiness, but you can combine it with other cheeses for different flavors.
How do I know when they are done?
Your breadsticks are done when they’re golden brown on top and have risen nicely.
Can I make the dough ahead of time?
Absolutely! You can prepare the dough and store it in the refrigerator for up to 24 hours before baking.
Is it possible to make them gluten-free?
Yes, you can use a gluten-free baking mix to create a gluten-free version of these cheesy breadsticks.
Conclusion
Homemade Cheesy Breadsticks are the perfect addition to any meal or occasion. Their cheesy goodness and delightful texture make them irresistible. Moreover, the versatility of this recipe allows for endless variations to suit every palate. Your friends and family will love the warm, cheesy flavors that emerge from your kitchen, whether for a cozy family dinner, a game-day snack, or any gathering. Dive into this simple yet rewarding recipe today, and you’ll see how easy it is to create something special that brings everyone together!