Homemade Chocolate Chip Cookies: The Ultimate Amazing Recipe
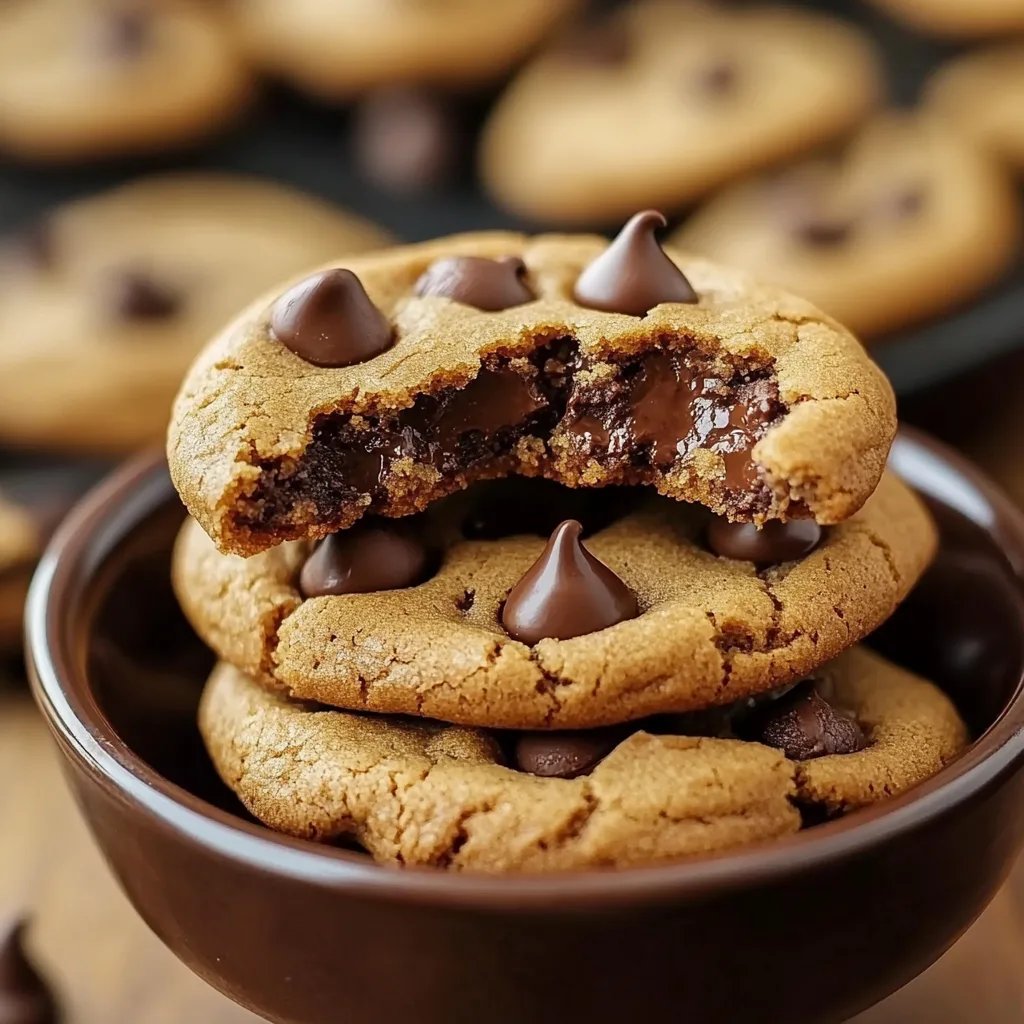
Homemade Chocolate Chip Cookies are the epitome of comfort baking. The warm aroma that wafts through the kitchen as they bake is enough to lift anyone’s spirits. Each cookie, with its gooey chocolate centers and soft, chewy edges, is a treat that brings back cherished memories of childhood. Whether you enjoy them fresh out of the oven or dunked in a glass of milk, these cookies are a delightful way to satisfy your sweet tooth.
If you’ve ever been lucky enough to taste a perfectly baked chocolate chip cookie, you know just how amazing they can be. Each bite is a harmonious blend of buttery goodness and rich chocolate flavor. Making these cookies at home not only gives you control over the ingredients—allowing you to customize them to your taste—but also fills your home with that nostalgic cookie scent. In this guide, you’ll discover why this recipe stands out, tips for perfect results, and how to serve these delectable treats.
Baking your own Homemade Chocolate Chip Cookies isn’t just a task; it’s an experience. Imagine biting into a cookie that’s slightly crisp on the outside and gooey in the center—it’s a sensation you won’t forget. As we delve into this ultimate cookie recipe, prepare to learn why Homemade Chocolate Chip Cookies are a must-try for bakers of all skill levels.
Why You’ll Love This Recipe
The allure of the Homemade Chocolate Chip Cookies lies in their simplicity and adaptability. Here’s why you’re bound to fall head over heels for this recipe:
1. Timeless Classic: Chocolate chip cookies are a beloved favorite across generations.
2. Easy to Make: The instructions are straightforward, making it perfect for beginners.
3. Customizable Options: Feel free to modify the recipe; add nuts, raisins, or switch to dark chocolate for variety!
4. Quick to Prepare: With minimal prep time, you can whip up a batch in under an hour.
5. Perfect for Sharing: Share with friends, family, or coworkers; they make for a delightful gift.
6. Satisfies Sweet Cravings: They are warm, gooey, and melt in your mouth, offering the perfect balance of sweet and buttery flavors.
With these factors, it’s easy to see why many choose to make these cookies time and again. The wonderful combination of taste and texture creates an indulgent dessert that is hard to resist.
Preparation and Cooking Time
Baking these Homemade Chocolate Chip Cookies will take approximately 30 minutes from start to finish. Here’s the breakdown:
– Preparation Time: 15 minutes
– Cooking Time: 10-12 minutes
– Cooling Time: 5-10 minutes
Keep in mind that your timing may vary based on your kitchen efficiency and oven specifications, but this guideline should help you plan accordingly.
Ingredients
– 2 ¼ cups all-purpose flour
– 1 teaspoon baking soda
– ½ teaspoon salt
– 1 cup unsalted butter, softened
– ¾ cup granulated sugar
– ¾ cup brown sugar, packed
– 1 teaspoon vanilla extract
– 2 large eggs
– 2 cups semi-sweet chocolate chips
Step-by-Step Instructions
Creating the perfect batch of Homemade Chocolate Chip Cookies is a straightforward process. Follow these steps for the best results:
1. Preheat the Oven: Start by preheating your oven to 350°F (175°C) and lining a baking sheet with parchment paper.
2. Mix Dry Ingredients: In a bowl, whisk together the flour, baking soda, and salt. Set aside.
3. Cream Butter and Sugars: In a large bowl, beat the softened butter, granulated sugar, and brown sugar until the mixture is light and fluffy.
4. Add Eggs and Vanilla: Add the eggs one at a time while mixing. Then, blend in the vanilla extract until fully incorporated.
5. Combine Mixtures: Gradually mix in the dry ingredients to the wet mixture, stirring until just combined. Avoid overmixing.
6. Fold in Chocolate Chips: Add the semi-sweet chocolate chips and gently fold them into the dough.
7. Scoop the Dough: Use a cookie scoop or spoon to drop rounded tablespoons of dough onto the prepared baking sheet, leaving enough space between each scoop for spreading.
8. Bake: Place the baking sheet in the preheated oven and bake for 10-12 minutes or until the edges are golden brown, but the centers still look soft.
9. Cool: Remove from the oven and allow the cookies to cool on the baking sheet for 5 minutes before transferring them to a wire rack to cool completely.
10. Enjoy: Serve warm to enjoy the melty chocolate or store in an airtight container for a later treat.
These simple steps will guide you in creating a batch of Homemade Chocolate Chip Cookies that everyone will love.
How to Serve
To elevate your Homemade Chocolate Chip Cookies experience, consider these serving suggestions:
1. Warm and Fresh: Serve the cookies warm from the oven for that amazing gooey texture.
2. Pair with Milk: A tall glass of cold milk is the classic pairing that enhances the chocolate flavor.
3. Cookie Sandwiches: Create cookie sandwiches by adding a scoop of ice cream between two cookies for a delicious twist.
4. Presentation: Arrange cookies on a decorative plate or in a cookie jar for a charming display.
5. Dessert Platter: Place alongside fresh fruits or brownies for an inviting dessert spread at gatherings.
By focusing on these serving techniques, you’ll create an experience that turns enjoying these Homemade Chocolate Chip Cookies into a delightful occasion. Enjoy baking and sharing these timeless treats!
Additional Tips
– Use Room Temperature Ingredients: For the best texture, ensure that your butter and eggs are at room temperature. This allows for better blending and helps achieve the right consistency.
– Don’t Overmix the Dough: When incorporating the dry ingredients, mix just until combined. Overmixing can lead to tough cookies.
– Test Cookie Dough: Before baking the entire batch, you can bake a small test cookie to check the texture and sweetness. Adjust based on your preference.
– Chill the Dough: For thicker cookies, consider chilling the dough for 30 minutes before baking. This helps prevent excessive spreading during baking.
– Experiment with Spice: A pinch of cinnamon or a dash of sea salt can elevate the flavor profile of your cookies and make them more complex.
Recipe Variation
Feel free to unleash your creativity with these fun variations:
1. Nut Lover’s Delight: Add chopped walnuts or pecans into the dough for a delicious crunch.
2. Oatmeal Chocolate Chip Cookies: Replace half the flour with oats for an added texture and flavor variation.
3. Stuffed Cookies: Place a chocolate square or a spoonful of peanut butter in the center of the dough before baking for stuffed chocolate chip cookies.
4. Milk Chocolate Alternative: Swap semi-sweet chocolate chips for milk chocolate or even white chocolate for a different taste experience.
5. Seasonal Flavors: Incorporate pumpkin spice during autumn or mint chocolate chips during winter holidays for festive touches.
Freezing and Storage
– Storage: Store your Homemade Chocolate Chip Cookies in an airtight container at room temperature for up to a week. They’ll maintain freshness and moisture.
– Freezing: For longer storage, you can freeze the cookie dough before baking. Scoop cookie dough onto a baking sheet and freeze until solid, then transfer to a zip-top bag. Frozen cookie dough can last up to three months. When ready to bake, simply add an extra minute or two to the baking time.
– Baked Cookies Freezing: You can also freeze the baked cookies. Allow them to cool completely, then place them in a single layer in a freezer bag. They can be frozen for up to three months.
Special Equipment
To make the process smoother and enjoyable, here are some essential tools you’ll need:
– Mixing Bowls: Have a large and a medium-sized bowl for mixing your ingredients.
– Electric Mixer: A hand or stand mixer will save you time and effort when creaming the butter and sugars.
– Cookie Scoop: A cookie scoop ensures uniform cookie size, promoting even baking.
– Parchment Paper: Line your baking sheet with parchment paper for easy removal and cleanup.
– Cooling Rack: A cooling rack helps cookies cool evenly, preventing sogginess.
Frequently Asked Questions
1. What gives chocolate chip cookies their chewy texture?
Using brown sugar contributes to a chewy texture due to its moisture content. Additionally, don’t overbake the cookies; they should look slightly underdone in the center when you take them out of the oven.
2. Can I replace the all-purpose flour with gluten-free flour?
Yes, you can use a gluten-free flour blend. However, make sure to check for specific ratios to achieve the desired texture.
3. What should I do if my cookies come out flat?
Flat cookies can result from over-mixing or melted butter. Ensure the butter is softened but not overly melted. Also, measure the flour correctly.
4. How can I enhance the chocolate flavor in my cookies?
You can add a bit of cocoa powder to the flour mixture or use chocolate chunks in addition to chocolate chips for a richer taste.
5. Can I use brown butter instead of regular butter?
Absolutely! Brown butter adds a deeper, nuttier flavor to your cookies. Just be sure to let it cool slightly before mixing it with the sugars.
Conclusion
Creating Homemade Chocolate Chip Cookies is a delightful journey that culminates in a batch of warm, gooey treats. With this recipe, you can easily whip up cookies that evoke nostalgia and comfort. Furthermore, the tips and variations provided ensure that your baking experience can be customized to your taste preferences. Whether enjoyed alone, shared with loved ones, or given as a thoughtful gift, these cookies are sure to bring smiles all around. So preheat your oven, gather your ingredients, and let the sweet aroma of freshly baked cookies fill your home!