Old-Fashioned Homemade Banana Pudding: An Incredible 7-Layer Recipe
Old-Fashioned Homemade Banana Pudding is a beloved dessert that holds a special place in many hearts. Its creamy layers, sweet bananas, and delightful vanilla wafers come together to create a comforting dish that takes you back to simpler times. This classic pudding isn’t just food; it’s a nostalgic experience that many of us treasure. The delightful texture and rich flavors make it perfect for family gatherings, potlucks, or simply treating yourself.
The first spoonful of this amazing banana pudding is like a warm hug on a chilly day. Each rich layer melds together, presenting a symphony of flavors that dance on your palate. In this article, you will discover why this recipe is so cherished, how to prepare it step-by-step, and tips on serving for maximum indulgence. So let’s dive into the wonderful world of Old-Fashioned Homemade Banana Pudding and explore why you need to make this dessert soon!
Why You’ll Love This Recipe
Old-Fashioned Homemade Banana Pudding is loved for many reasons. Here are just a few highlights that make this recipe stand out:
1. Comforting Flavors: This pudding combines the sweetness of bananas and creaminess of custard, creating a comforting dessert.
2. Perfect Layering: The balance between whipped cream, vanilla wafers, and sliced bananas ensures you get a bit of everything in each bite.
3. Flexible Ingredients: You can customize it by adding nuts, using different types of cookies, or even adjusting the sweetness to your liking.
4. Golden Nostalgia: This recipe transports you back to childhood memories, where homemade treats were a staple of family gatherings.
5. Easy to Prepare: With straightforward steps, this recipe is accessible for novice cooks, making it a delightful project.
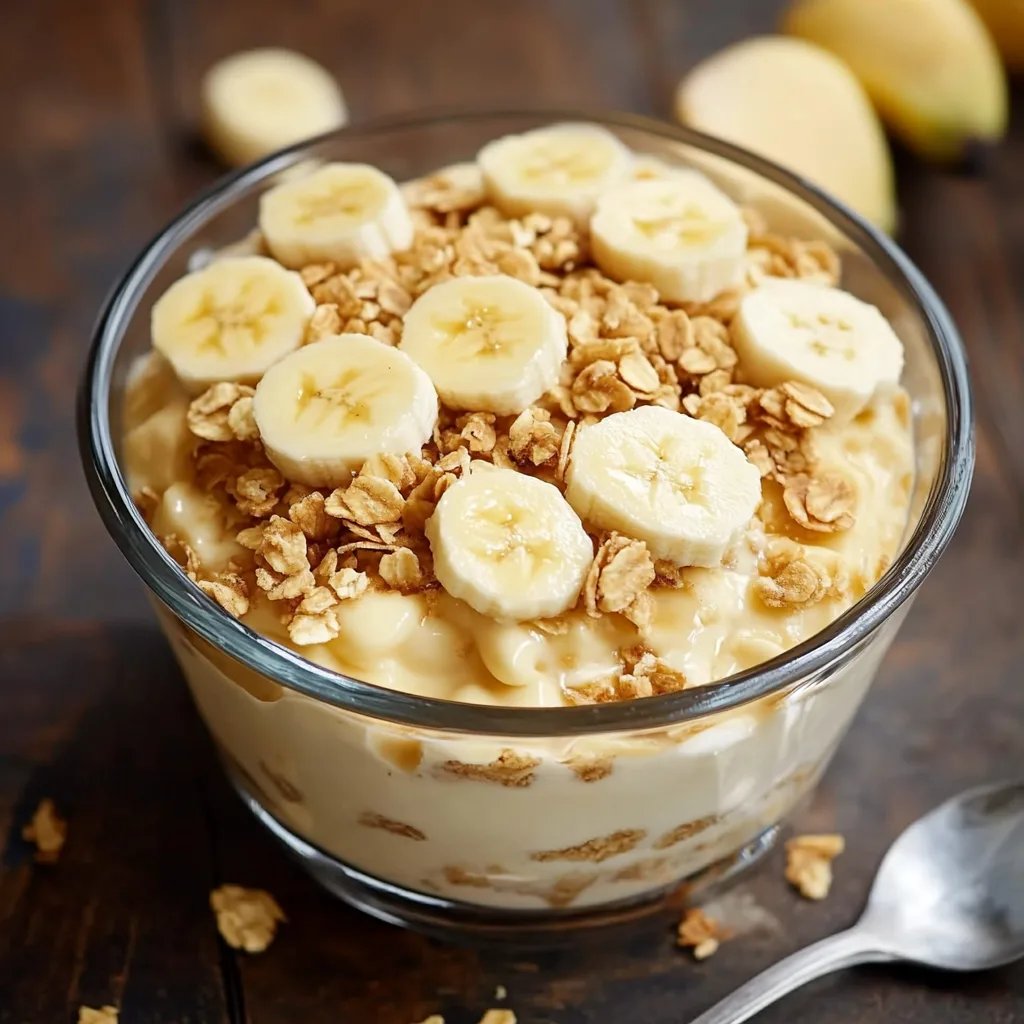
6. Impressive Presentation: Layers of pudding, bananas, and wafers create a stunning visual appeal, perfect for impressing guests.
7. Versatile Dessert: Whether served at a summer barbecue or a winter holiday dinner, banana pudding is always a hit.
These factors highlight why Old-Fashioned Homemade Banana Pudding is more than just dessert; it’s a delightful experience sure to please everyone.
Preparation and Cooking Time
Making Old-Fashioned Homemade Banana Pudding takes time and love, but the results are well worth it. Here’s a breakdown of the timing involved in creating this amazing dessert:
– Preparation Time: 25 minutes
– Cooking Time: 20 minutes
– Chilling Time: 2 hours
– Total Time: Approximately 2 hours and 45 minutes
These times may vary slightly depending on your experience and kitchen equipment, but this gives you a good estimate for planning.
Ingredients
– 1/2 cup granulated sugar
– 1/3 cup all-purpose flour
– 1/4 teaspoon salt
– 2 3/4 cups whole milk
– 3 large eggs, separated
– 2 tablespoons unsalted butter
– 1 teaspoon vanilla extract
– 4 ripe bananas, sliced
– 1 box vanilla wafers (about 12 oz)
– Whipped cream (optional, for topping)
Step-by-Step Instructions
Creating Old-Fashioned Homemade Banana Pudding can be a straightforward process if you follow these steps:
1. Prepare the Custard: In a medium saucepan, combine sugar, flour, and salt. Gradually whisk in the milk over medium heat until combined.
2. Cook the Mixture: Continuously stir this mixture until it thickens and comes to a gentle boil. This should take about 5-10 minutes.
3. Beat Eggs: In a bowl, whisk the egg yolks. Once the custard is thickened, carefully add a small amount to the egg yolks to temper them. Then, add the egg yolks back to the saucepan.
4. Cook Further: Continue cooking for another 2 minutes while stirring constantly. Remove from heat and stir in butter and vanilla.
5. Layer the Ingredients: In a trifle dish or a large bowl, layer a third of the vanilla wafers on the bottom. Add a layer of sliced bananas and then a third of the custard.
6. Repeat Layering: Repeat the layers until all ingredients are used. You should end with the custard on top.
7. Chill: Cover the dish with plastic wrap and chill in the refrigerator for at least 2 hours to set the pudding.
8. Whip Cream: If desired, whip cream until peaks form and spread or pipe over the chilled pudding before serving.
These steps will guide you in creating a classic Old-Fashioned Homemade Banana Pudding that everyone will love!
How to Serve
To make your Old-Fashioned Homemade Banana Pudding shine, here are some tips for serving:
1. Presentation: Serve in a clear glass dish to showcase the beautiful layers. Alternatively, individual cups can add a personal touch.
2. Accompaniments: Garnish with extra banana slices or crumbled vanilla wafers for added texture.
3. Serving Temperature: Banana pudding is best served chilled, so keep it refrigerated until serving time.
4. Garnish: Add a dollop of whipped cream on top for added richness.
5. Slice Size: Serve in generous portions to ensure everyone gets a great experience, but keep sizes moderate to encourage seconds.
By paying attention to how you serve Old-Fashioned Homemade Banana Pudding, you elevate the dessert and create a memorable experience for those you share it with!
Additional Tips
– Use Ripe Bananas: For the best flavor, select bananas that are ripe but not overly brown. They should have a few brown spots and feel slightly soft to the touch.
– Make Ahead: Prepare the pudding a day in advance. This allows the flavors to meld and the pudding to set properly.
– Adjust Layering: Feel free to vary the layering order. Some prefer to place the bananas directly on top of the wafer layer for extra freshness.
– Add a Hint of Nutmeg: A pinch of freshly grated nutmeg can enhance the custard’s flavor and add subtle warmth.
Recipe Variation
Don’t hesitate to get creative! Here are some variations to try with your Old-Fashioned Homemade Banana Pudding:
1. Chocolate Banana Pudding: Substitute half of the milk with chocolate milk or add cocoa powder to the custard for a delicious chocolate twist.
2. Coconut Banana Pudding: Incorporate shredded coconut into the layers for added texture and flavor.
3. Peanut Butter Swirl: Mix in creamy peanut butter into the custard for a rich, nutty flavor that complements the bananas beautifully.
Freezing and Storage
– Storage: Store any leftovers in an airtight container in the refrigerator for up to 3 days. Be sure to layer plastic wrap directly on the surface of the pudding to prevent a film from forming.
– Freezing: While it is possible to freeze banana pudding, the texture may change upon thawing. If you wish to freeze it, do so before adding the bananas and whipped cream. It will keep well in the freezer for up to 2 months. Thaw in the refrigerator overnight before serving.
Special Equipment
To prepare Old-Fashioned Homemade Banana Pudding effectively, you’ll need a few essential kitchen tools:
– Medium saucepan for cooking the custard
– Mixing bowls for separating eggs and whipping cream
– Whisk for combining ingredients
– Trifle dish or a large serving bowl for layering
– Plastic wrap to cover and chill the dish
Frequently Asked Questions
How firm should the custard be?
The custard should be thick enough to coat the back of a spoon. It will further set when chilled.
Can I use a different type of cookie?
Yes, feel free to experiment with other cookies like ginger snaps or graham crackers for different flavor profiles.
Is it safe to eat raw eggs?
This recipe involves cooking the egg yolks, which makes them safe to eat. Be careful not to skip this step.
Can I make it gluten-free?
Certainly! Substitute the all-purpose flour with a gluten-free baking blend and use gluten-free cookies.
How can I prevent the bananas from browning?
You can toss the banana slices in a little lemon juice before layering, which will help maintain their color.
Conclusion
Old-Fashioned Homemade Banana Pudding is not just a dessert; it’s a heartfelt reminder of cherished moments with family and friends. The layers of creamy custard, sweet ripe bananas, and crunchy vanilla wafers come together to create an unforgettable treat. Whether for a summertime get-together, a holiday feast, or simply to satisfy a sweet tooth, this recipe is sure to deliver joy and satisfaction.