Strawberry Kiwi Popsicles
Highlighted under: Gourmet Baking Bliss
Honestly, these are the best popsicles I've ever made at home. With just a handful of ingredients, you can whip them up for about $5-7. My kids went nuts for these, asking for seconds before they even finished their first. Fresh strawberries and zesty kiwi come together to create a refreshing treat that’s way better than store-bought. Plus, they’re super easy to adjust based on whatever fruit you have on hand.
Making these strawberry kiwi popsicles was such a fun adventure in the kitchen. I’ve tried store-bought versions before, and honestly, they just can’t compare to this fresh, homemade take. I started with the strawberries, blending them until smooth, then I sliced up some kiwi to add a nice tart contrast. Next time, I might add a bit of honey as I like things a touch sweeter.
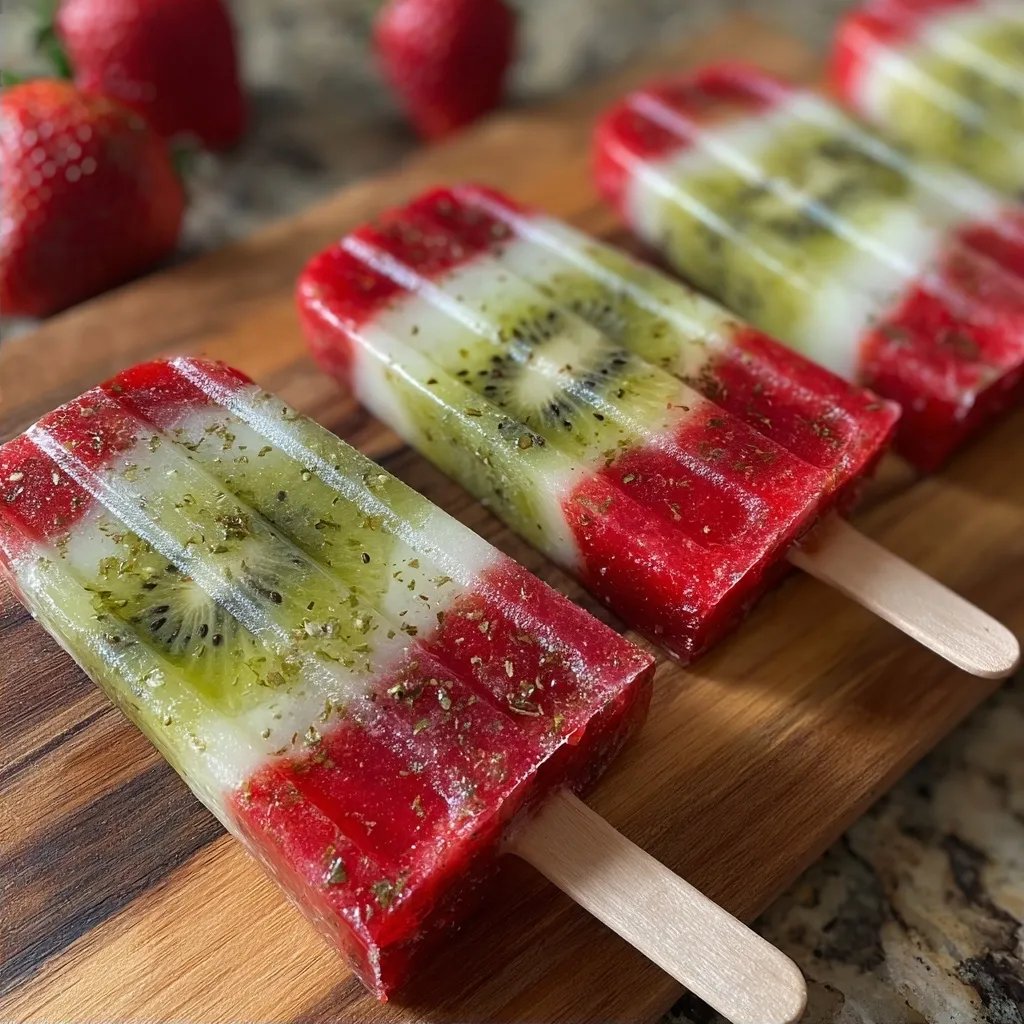
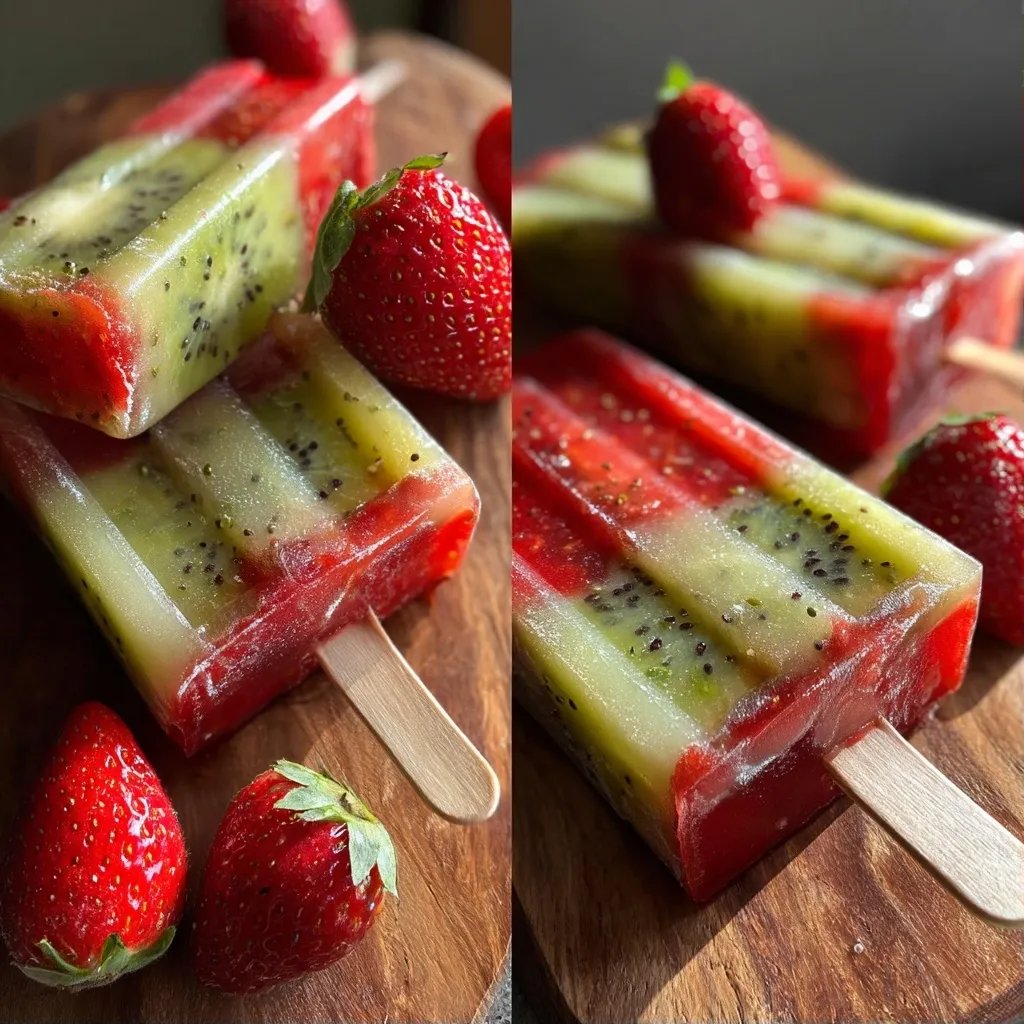
The color contrast between the bright red strawberries and vibrant green kiwi was so pretty in the molds. I also made a mental note to try this with other fruits, like mango or blueberry, because I can already picture how tasty those combos would be.
Why This Works So Well
- So refreshing on a hot day
- Way less sugar than store-bought
- You can customize it with any fruit you like
Choosing Your Ingredients
When you're selecting strawberries, look for ones that are bright red and firm to the touch. If they smell sweet, that’s a great sign. As for kiwis, go for ones that yield slightly to pressure, indicating they're ripe and ready to eat. I sometimes mix in a little banana or mango if I have it on hand, and it still turns out great.
It’s good to keep in mind that the sweetness of your fruits may vary. If your strawberries are super sweet, you might not need as much honey. Just taste the mixtures along the way. You can always add a bit more honey or lemon juice as needed.
A Quick Note on Strawberry Kiwi Popsicles
These popsicles are truly a summertime delight. The combination of strawberries and kiwi not only looks beautiful with those bright colors but also offers a refreshing balance between sweet and tangy flavors. You can switch things up depending on what’s in season or what you have in your fridge. Think peaches or blueberries, too!
After you've made these a couple of times, you might feel inspired to try different layering techniques. Pour in the mixtures in alternating colors or swirl them together for a fun look. Honestly, this adds a little charm, and kids love seeing the different patterns in their treats.
Ingredients
Gather your ingredients before starting.
For the Strawberry Layer
- 2 cups fresh strawberries, hulled
- 2 tablespoons honey (optional)
- 1 tablespoon lemon juice
For the Kiwi Layer
- 2 ripe kiwis, peeled and sliced
- 1 tablespoon honey (optional)
- 1/2 cup water
Feel free to experiment with other fruits!
Instructions
Follow these simple steps to make your popsicles.
Make the Strawberry Layer
In a blender, combine the strawberries, honey (if using), and lemon juice. Blend until you have a smooth mixture. If you want a little texture, you can leave it slightly chunky. Pour this mixture into your popsicle molds, filling them about two-thirds full.
Prepare the Kiwi Layer
In the same blender, add the sliced kiwi, honey (if using), and water. Blend until smooth. You might want to taste it to see if you want more sweetness. Once blended, carefully pour the kiwi blend over the strawberry layer in the molds, filling them to the top.
Freeze the Popsicles
Insert the popsicle sticks and place the molds in the freezer. Freeze for at least 4 hours or until solid. I usually check them after about 3 hours to see if they’re ready. You’ll know they’re done when they’re completely firm.
Enjoy!
Once frozen, run the molds under warm water for a few seconds to help release the popsicles. Pop them out and enjoy the deliciousness. My kids had theirs gone in minutes, and I could see these being a summer staple.
Store any leftovers in a freezer-safe container.
What to Serve with Strawberry Kiwi Popsicles
These popsicles are perfect on their own, but if you want to set up a little snack table, I suggest some yogurt on the side. A dollop of plain yogurt mixed with honey makes a nice dip for the pops, or you could serve them with a fruit salad to complement those flavors.
If you’re feeling fancy, try pairing them with some sparkling water or lemonade for a fun summer drink. The bubbly texture really brings out the refreshing taste of the popsicles.
Make-Ahead Tips
You can absolutely make these popsicles a few days ahead of time. Once they’re fully frozen, pop them out of the molds and store them in a freezer bag for up to two weeks. Just remember to separate them with parchment paper if you don’t want them to stick together.
If you plan on making these for a party, why not make a double batch? You can use multiple molds to cut down on freezing time. Plus, having extras on hand is always a win — you might find yourself sneaking one after the kids are in bed.
Questions About Recipes
→ Can I use frozen fruit instead?
You definitely can, but keep in mind that the texture might be a bit different. I usually go for fresh when I can get them.
→ How long do they last in the freezer?
They should be good for about a month, but honestly, they probably won’t last that long at my house!
→ What other fruits go well in this?
Honestly, so many! Mango, blueberries, even peaches would be delicious. Just play around with what you have.
Strawberry Kiwi Popsicles
Created by: The Tastycrafter Team
Recipe Type: Gourmet Baking Bliss
Skill Level: Beginner
Final Quantity: 6.0
What You'll Need
For the Strawberry Layer
- 2 cups fresh strawberries, hulled
- 2 tablespoons honey (optional)
- 1 tablespoon lemon juice
For the Kiwi Layer
- 2 ripe kiwis, peeled and sliced
- 1 tablespoon honey (optional)
- 1/2 cup water
How-To Steps
In a blender, combine the strawberries, honey (if using), and lemon juice. Blend until you have a smooth mixture. If you want a little texture, you can leave it slightly chunky. Pour this mixture into your popsicle molds, filling them about two-thirds full.
In the same blender, add the sliced kiwi, honey (if using), and water. Blend until smooth. You might want to taste it to see if you want more sweetness. Once blended, carefully pour the kiwi blend over the strawberry layer in the molds, filling them to the top.
Insert the popsicle sticks and place the molds in the freezer. Freeze for at least 4 hours or until solid. I usually check them after about 3 hours to see if they’re ready. You’ll know they’re done when they’re completely firm.
Once frozen, run the molds under warm water for a few seconds to help release the popsicles. Pop them out and enjoy the deliciousness. My kids had theirs gone in minutes, and I could see these being a summer staple.
Nutritional Breakdown (Per Serving)
- Calories (kcal): 60
- Total Fat (g): 0.3
- Saturated Fat (g): 0.1
- Cholesterol (mg): 0
- Sodium (mg): 1
- Total Carbohydrates (g): 15
- Dietary Fiber (g): 1.5
- Sugars (g): 10
- Protein (g): 0.5